How to Choose and Use a Portable Air Conditioner in Your RV: Stay Cool on Every Adventure
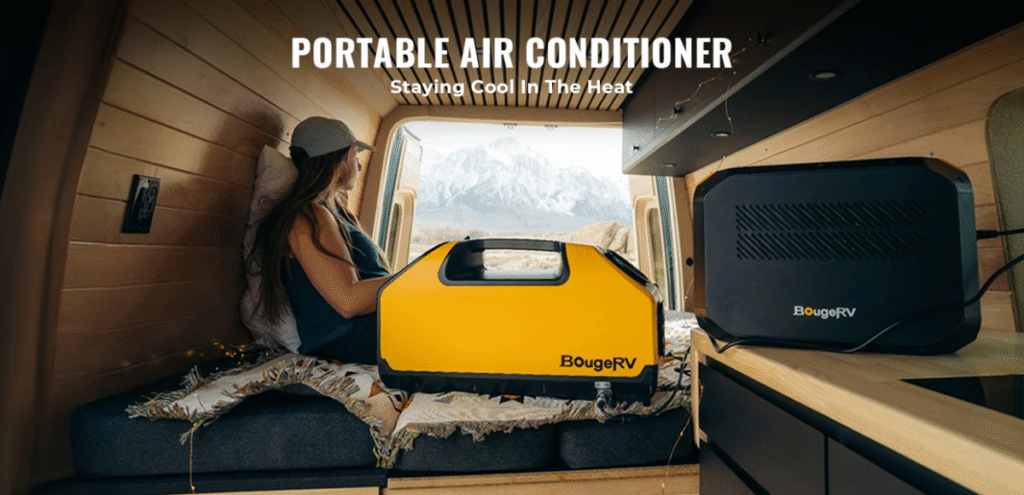
The RV lifestyle delivers unmatched freedom and exploration, but extreme temperatures can quickly transform your mobile home into an uncomfortable space. Whether you are parked at a sun-drenched campground or boondocking in arid desert terrain, maintaining a comfortable interior climate is essential for enjoying your travels. Portable air conditioners for RVs have become a preferred choice among travelers seeking flexible, budget-friendly cooling that avoids permanent vehicle modifications or complex installations.
Unlike traditional rooftop RV air conditioning systems that demand professional mounting and place heavy loads on your electrical infrastructure, portable units offer remarkable versatility. They are straightforward to operate, easily relocated, and adaptable to changing daily needs. This comprehensive guide covers everything you need to know about selecting, installing, and maintaining a portable AC unit for your recreational vehicle, ensuring reliable comfort wherever your journey takes you.
Why RVers Are Switching to Portable Air Conditioners
Traditional rooftop air conditioners have served the RV community reliably for decades, yet they carry limitations that modern travelers increasingly find restrictive. Portable cooling solutions offer distinct advantages that make them highly worthwhile for extended road trips:
- No Permanent Modifications: These units require zero structural changes to your RV, preserving lease agreements and maximizing resale value.
- Quick, Tool-Free Setup: Installation typically takes under an hour and requires no specialized skills, avoiding the hundreds or thousands spent on professional rooftop installations.
- Targeted Zone Cooling: Direct cooling to occupied areas reduces wasted energy, lowering power draw from generators or shore hookups.
- Complete Mobility: Relocate the unit throughout the day to match your schedule, providing precise control over your personal comfort zone.
- Seasonal Storage & Weight Reduction: Remove and store the unit during cooler months to reclaim floor space and reduce travel weight, especially useful when crossing diverse climate zones.
- Reliable Backup System: If your primary rooftop unit fails mid-trip, a portable AC prevents your vacation from becoming unbearable.
- Lower Upfront Cost: Quality portable models range from $300 to $700, significantly less than the $1,000 to $3,000 required for rooftop replacements.
- Off-Grid Compatibility: Many portable units run efficiently on smaller generators or solar setups, making them ideal for boondockers who want to minimize campground dependency.
Understanding BTU Requirements for Your RV Space
Selecting the correct cooling capacity begins with understanding British Thermal Units (BTUs). BTU measures the heat an air conditioner removes from a space per hour. Choosing the right rating ensures optimal performance without unnecessary energy waste. As a baseline, plan for approximately 20 BTUs per square foot under standard conditions. However, several RV-specific variables will adjust this number:
- Insulation Quality: Older or poorly insulated RVs lose cooled air faster and absorb external heat.
- Ceiling Height & Layout: Higher ceilings and open floor plans require more cooling volume.
- Sun Exposure & Exterior Color: Dark-colored RVs absorb significantly more heat, often requiring a 10% capacity boost.
- Window Size & Treatments: Large, unshaded windows dramatically increase heat gain.
- Climate Zone: Dry desert heat demands different cooling strategies than humid coastal regions.
- Occupancy & Appliances: Each person adds roughly 400 BTUs of body heat per hour, and frequent use of ovens or stovetops increases internal thermal load.
For practical application, a compact trailer measuring 100–150 square feet typically needs 5,000–6,000 BTUs. Larger Class A motorhomes spanning 300–400 square feet generally require 10,000–14,000 BTUs. Because RV exteriors (metal or fiberglass) radiate heat and windows lack residential-grade glazing, increase your baseline calculation by 10–20% to account for these unique challenges.
Types of Portable Air Conditioners Suitable for RV Use
Not all portable cooling units perform equally in mobile environments. Understanding the core designs helps you match technology to your RV layout and climate:
Single-Hose Portable Air Conditioners
These are the most affordable and widely available option. A single exhaust hose vents hot air outside while pulling replacement air from inside the RV. They are compact, easy to set up, and typically priced between $300–$500. However, exhausting indoor air creates negative pressure, which can draw warm outside air through gaps and reduce efficiency by up to 30%. Single-hose models work well in small to medium RVs that are tightly sealed. Popular RV-friendly brands include BLACK+DECKER, Honeywell, and Whynter, with capacities ranging from 8,000 to 12,000 BTUs.
Dual-Hose Portable Air Conditioners
Dual-hose systems use one hose to pull fresh outside air for condenser cooling and a second hose to expel hot air. This balanced design eliminates negative pressure, cooling spaces approximately 40% faster and maintaining steadier temperatures. While they cost $100–$200 more and occupy slightly more space, the efficiency gains justify the investment for larger RVs or extreme climates. Trusted manufacturers include Whynter, Soleus Air, and Frigidaire.
Evaporative Coolers (Swamp Coolers)
These units cool air through water evaporation, consuming far less electricity than compressor-based ACs and often running cleanly on solar power. They excel in dry, low-humidity environments but lose effectiveness above 60% humidity. Additionally, they increase indoor moisture, which can affect electronics and upholstery in tightly enclosed RVs.
Essential Features to Look for When Shopping
When evaluating portable air conditioner options for your RV, prioritize features that enhance efficiency, convenience, and long-term reliability:
- Energy Efficiency Ratio (EER): Aim for an EER of 10 or higher. This metric indicates how effectively the unit converts watts into cooling BTUs, helping you avoid breaker trips and generator overload.
- Eco-Friendly Refrigerants: Modern units utilizing R-410A or R-32 deliver superior cooling with a reduced environmental footprint.
- Quiet Operation: RV interiors are compact, so look for units rated at 52 decibels or lower. Premium models often include night modes that slow fan speeds and reduce compressor cycling for undisturbed sleep.
- Smart Controls & Programmability: Built-in timers, smartphone apps, and customizable schedules let you pre-cool your space or adjust settings remotely, optimizing comfort and power usage.
- Dehumidification Capacity: In humid regions, excess moisture causes mold and discomfort. Quality units extract 40–80 pints of water daily. Seek models with auto-evaporation technology or continuous drain options to eliminate manual emptying.
- Multiple Fan Speeds & Modes: High-speed cooling for rapid temperature drops, followed by low-speed maintenance cycles. Dedicated fan-only modes improve air circulation without active cooling during mild weather.
Installation Tips and Venting Solutions for RVs
Portable ACs are engineered for residential windows, so RV installation requires creative venting strategies. Proper exhaust management is critical to prevent hot air from re-entering your living space.
- Window Venting: Most units include adjustable window kits. For irregular RV windows, fabricate a custom panel from plexiglass or rigid foam, cut a hole for the exhaust adapter, and seal edges with weatherstripping or duct tape. This method is effective but may require removal during transit.
- Roof Vent Installation: Route the exhaust hose through an existing roof vent, replacing the standard cover with a custom adapter. This keeps windows clear, improves upward heat expulsion, and offers a cleaner aesthetic. Ensure proper weatherproofing to prevent rain intrusion.
- Door Venting: Similar to window panels, crack an entry door slightly and secure the hose with foam insulation or a dedicated door vent kit. Ideal for rarely used doors, though it may compromise security.
Regardless of your venting method, insulate the exhaust hose with a reflective sleeve to prevent radiant heat from warming your interior. Keep the hose as short and straight as possible—ideally under 5–6 feet—to