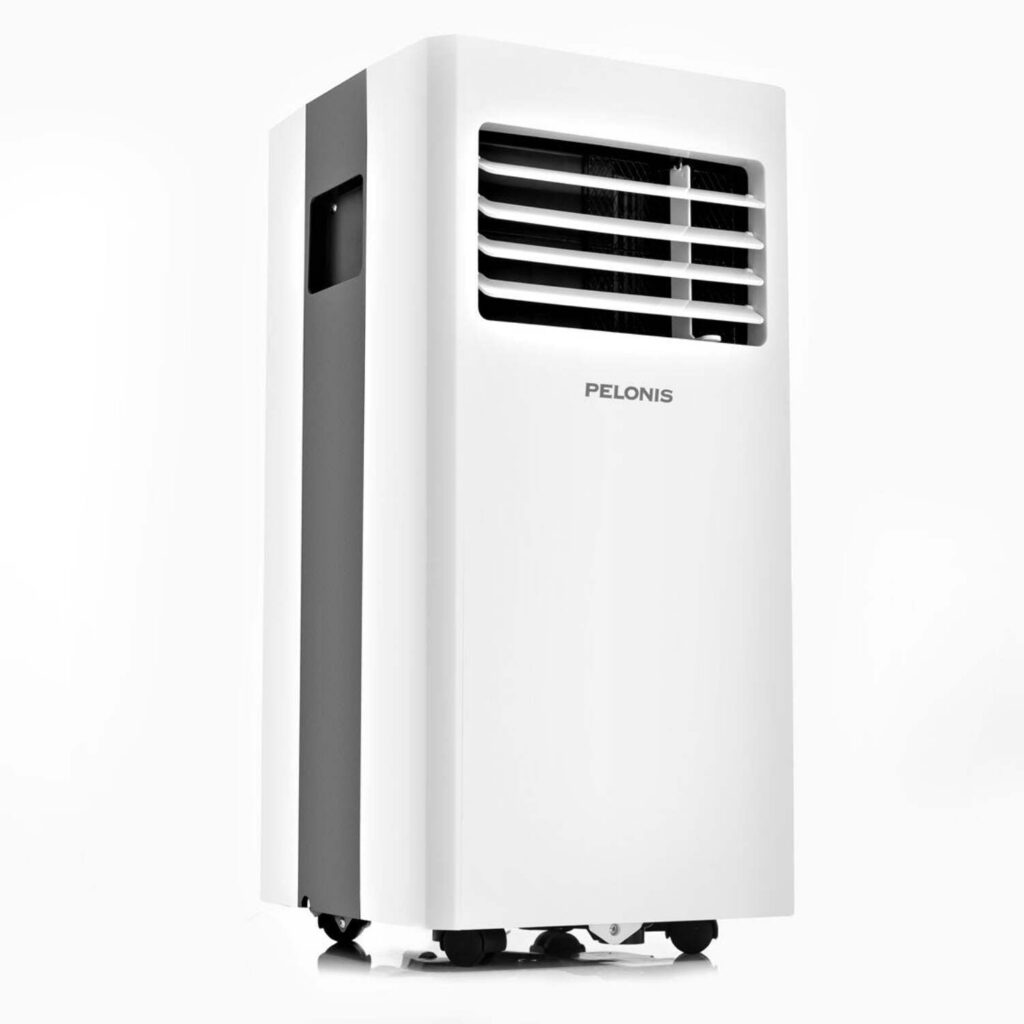
Pelonis Portable Air Conditioner: Complete Buyer’s Guide
When summer temperatures soar, securing reliable personal cooling becomes essential for both homeowners and renters. The Pelonis portable air conditioner has rapidly gained popularity as a flexible, budget-friendly solution that delivers targeted climate control without permanent installation. This comprehensive guide breaks down everything you need to know about Pelonis portable AC units, covering technical specifications, real-world performance, energy efficiency, and setup requirements to help you choose the right model for your space.
What Sets the Pelonis Portable Air Conditioner Apart?
The Pelonis portable air conditioner bridges the gap between affordability and modern functionality. Unlike traditional window units or centralized HVAC systems, these compact cooling devices offer remarkable versatility for apartment dwellers, homeowners, and anyone seeking zone-specific temperature management. Backed by decades of experience in home comfort appliances, Pelonis designs its portable line around contemporary consumer demands.
Most models deliver between 8,000 and 14,000 BTUs, providing adequate cooling for rooms ranging from 150 to 500 square feet depending on the selected capacity. Each unit operates in multiple modes—cooling, dehumidification, and fan-only—making them adaptable for year-round comfort. What truly distinguishes these units in a crowded market is their focus on intuitive operation paired with energy-conscious engineering. Standard features include digital LED displays, wireless remote controls, and programmable timers that sync with your daily schedule. Because they run on standard 115V household circuits, they eliminate the need for specialized wiring, making them an ideal choice for renters who cannot modify their spaces or homeowners seeking supplemental cooling without upgrading their entire system.
Understanding BTU Ratings and Room Coverage
British Thermal Units (BTUs) measure an air conditioner’s cooling power, and selecting the correct rating is critical for optimal performance. In HVAC terms, higher BTU numbers indicate greater cooling capacity. The U.S. Department of Energy and industry manufacturers provide baseline guidelines matching BTU output to room dimensions.
- 150–250 square feet: 8,000 BTU
- 250–350 square feet: 10,000 BTU
- 350–450 square feet: 12,000 BTU
- 450–550 square feet: 14,000 BTU
These calculations assume standard eight-foot ceilings and average insulation. Several environmental factors can shift your actual requirements. High ceilings increase air volume, demanding more cooling power. Rooms with extensive south or west-facing windows experience significant solar heat gain and may require higher BTU ratings. Occupancy also matters, as each person generates roughly 400 BTUs of body heat per hour. Additionally, kitchen installations often need upgraded capacity to counteract heat from stoves and ovens.
Recommended BTU Adjustment Guide
- Add 10% capacity for rooms with heavy sun exposure
- Add 15% for kitchens or spaces with heat-generating equipment
- Add 600 BTU for each additional regular occupant
- Reduce by 10% for heavily shaded rooms with minimal sunlight
Core Features and Functionality
Modern Pelonis portable air conditioners integrate practical features designed to maximize comfort while keeping energy consumption reasonable. The three-in-one operation is particularly valuable: the cooling mode removes heat and moisture simultaneously, the dehumidification mode targets excess humidity without aggressive temperature drops (ideal for damp climates), and the fan-only mode circulates air efficiently during mild weather.
Many models also incorporate self-evaporative technology, a major convenience upgrade over older portable units. Instead of collecting condensation in internal buckets that require frequent manual emptying, this system recycles most moisture to cool the condenser coils. While some drainage may still be needed in extreme humidity, this feature significantly reduces maintenance frequency.
User control remains straightforward thanks to digital LED panels that display current temperature, target settings, operational mode, and fan speed. Included remotes allow adjustments from across the room, which is especially useful at night. Twenty-four-hour programmable timers enable automated scheduling, letting you pre-cool a space before arriving home or shut the unit off during sleep hours to conserve electricity. Multiple fan speeds let you balance cooling intensity against noise levels and power draw, making lower settings perfect for bedrooms.
Installation and Setup Process
One of the biggest advantages of the Pelonis portable air conditioner is its tool-free installation. However, proper setup directly impacts cooling efficiency and energy bills. The most critical component is the window kit, which vents hot exhaust air outside while preventing warm outdoor air from entering.
Pelonis includes adjustable window panels that fit standard sliding windows, typically accommodating widths between 26 and 48 inches. The kit features pre-cut openings for the exhaust hose, allowing the window to close securely against the panel. Flexible, foil-insulated hoses connect the unit’s rear exhaust port to the window kit, creating a complete ventilation pathway.
Step-by-Step Installation Guide
- Preparation: Choose a window near a grounded outlet, ideally centered in the room for balanced airflow. Clear at least 20 inches of clearance around the planned unit position.
- Window Kit Assembly: Slide the adjustable panels to match your window width and secure them with provided connectors. Insert the exhaust hose connector into the designated opening.
- Hose Connection: Attach one end of the exhaust hose to the window connector and the other end to the unit’s rear port, twisting to lock securely.
- Positioning & Sealing: Place the unit near the window, insert the panel into the opening, and close the window firmly against it. Apply weatherstripping foam tape around the edges to create an airtight seal and prevent air infiltration.
- Power Up: Plug the unit directly into a wall outlet. Avoid extension cords or power strips, as portable ACs draw substantial current.
Energy Efficiency and Operating Costs
While portable air conditioners generally consume more energy per BTU than central systems or mini-splits, their ability to cool specific zones often results in overall household savings. The Energy Efficiency Ratio (EER) measures how effectively a unit converts electricity into cooling power. Calculated by dividing BTU output by wattage, most Pelonis models achieve EER ratings between 8.5 and 11.0, which aligns with standard portable units.
Operating costs vary based on local electricity rates, model wattage, and usage habits. A typical 10,000 BTU unit draws approximately 900–1,100 watts. At the national average rate of $0.14 per kilowatt-hour, running it for eight hours daily costs roughly $1.00–$1.25 per day, or $30–$38 monthly. Regional electricity prices can significantly alter these figures, so checking your local utility rate is recommended.
Estimated Monthly Operating Costs
- 8,000 BTU: $25–$29/month (750–850W)
- 10,000 BTU: $30–$37/month (900–1,100W)
- 12,000 BTU: $40–$47/month (1,200–1,400W)
- 14,000 BTU: $45–$52/month (1,350–1,550W)
To reduce expenses, use the programmable timer to avoid cooling empty rooms, set the thermostat to 78°F, utilize fan-only mode during cooler evenings, and seal windows tightly to block solar heat gain.
Maintenance for Long-Term Performance
Regular upkeep ensures your Pelonis portable air conditioner maintains peak cooling capacity and air quality. Unlike central systems, portable units require minimal, user-performed maintenance.
- Air Filter Cleaning: Remove and rinse the washable filter under lukewarm water every two weeks during active use. Households with pets or high dust levels should clean weekly. Allow the filter to dry completely before reinstalling to prevent mold growth.
- Condensate Management: Even with self-evaporative technology, extended use in humid conditions may fill internal reservoirs. Drain water through the rear plug when indicator lights activate, or install continuous drainage tubing to route moisture directly